What every bride needs to know... PART 2

What every bride needs to know... Part 2

In this second part of my wedding beauty blog “What every bride should know” we address body makeup, tanning, hiring wedding consultants, hair stylists, makeup artists, and more …


TRUE OR FALSE

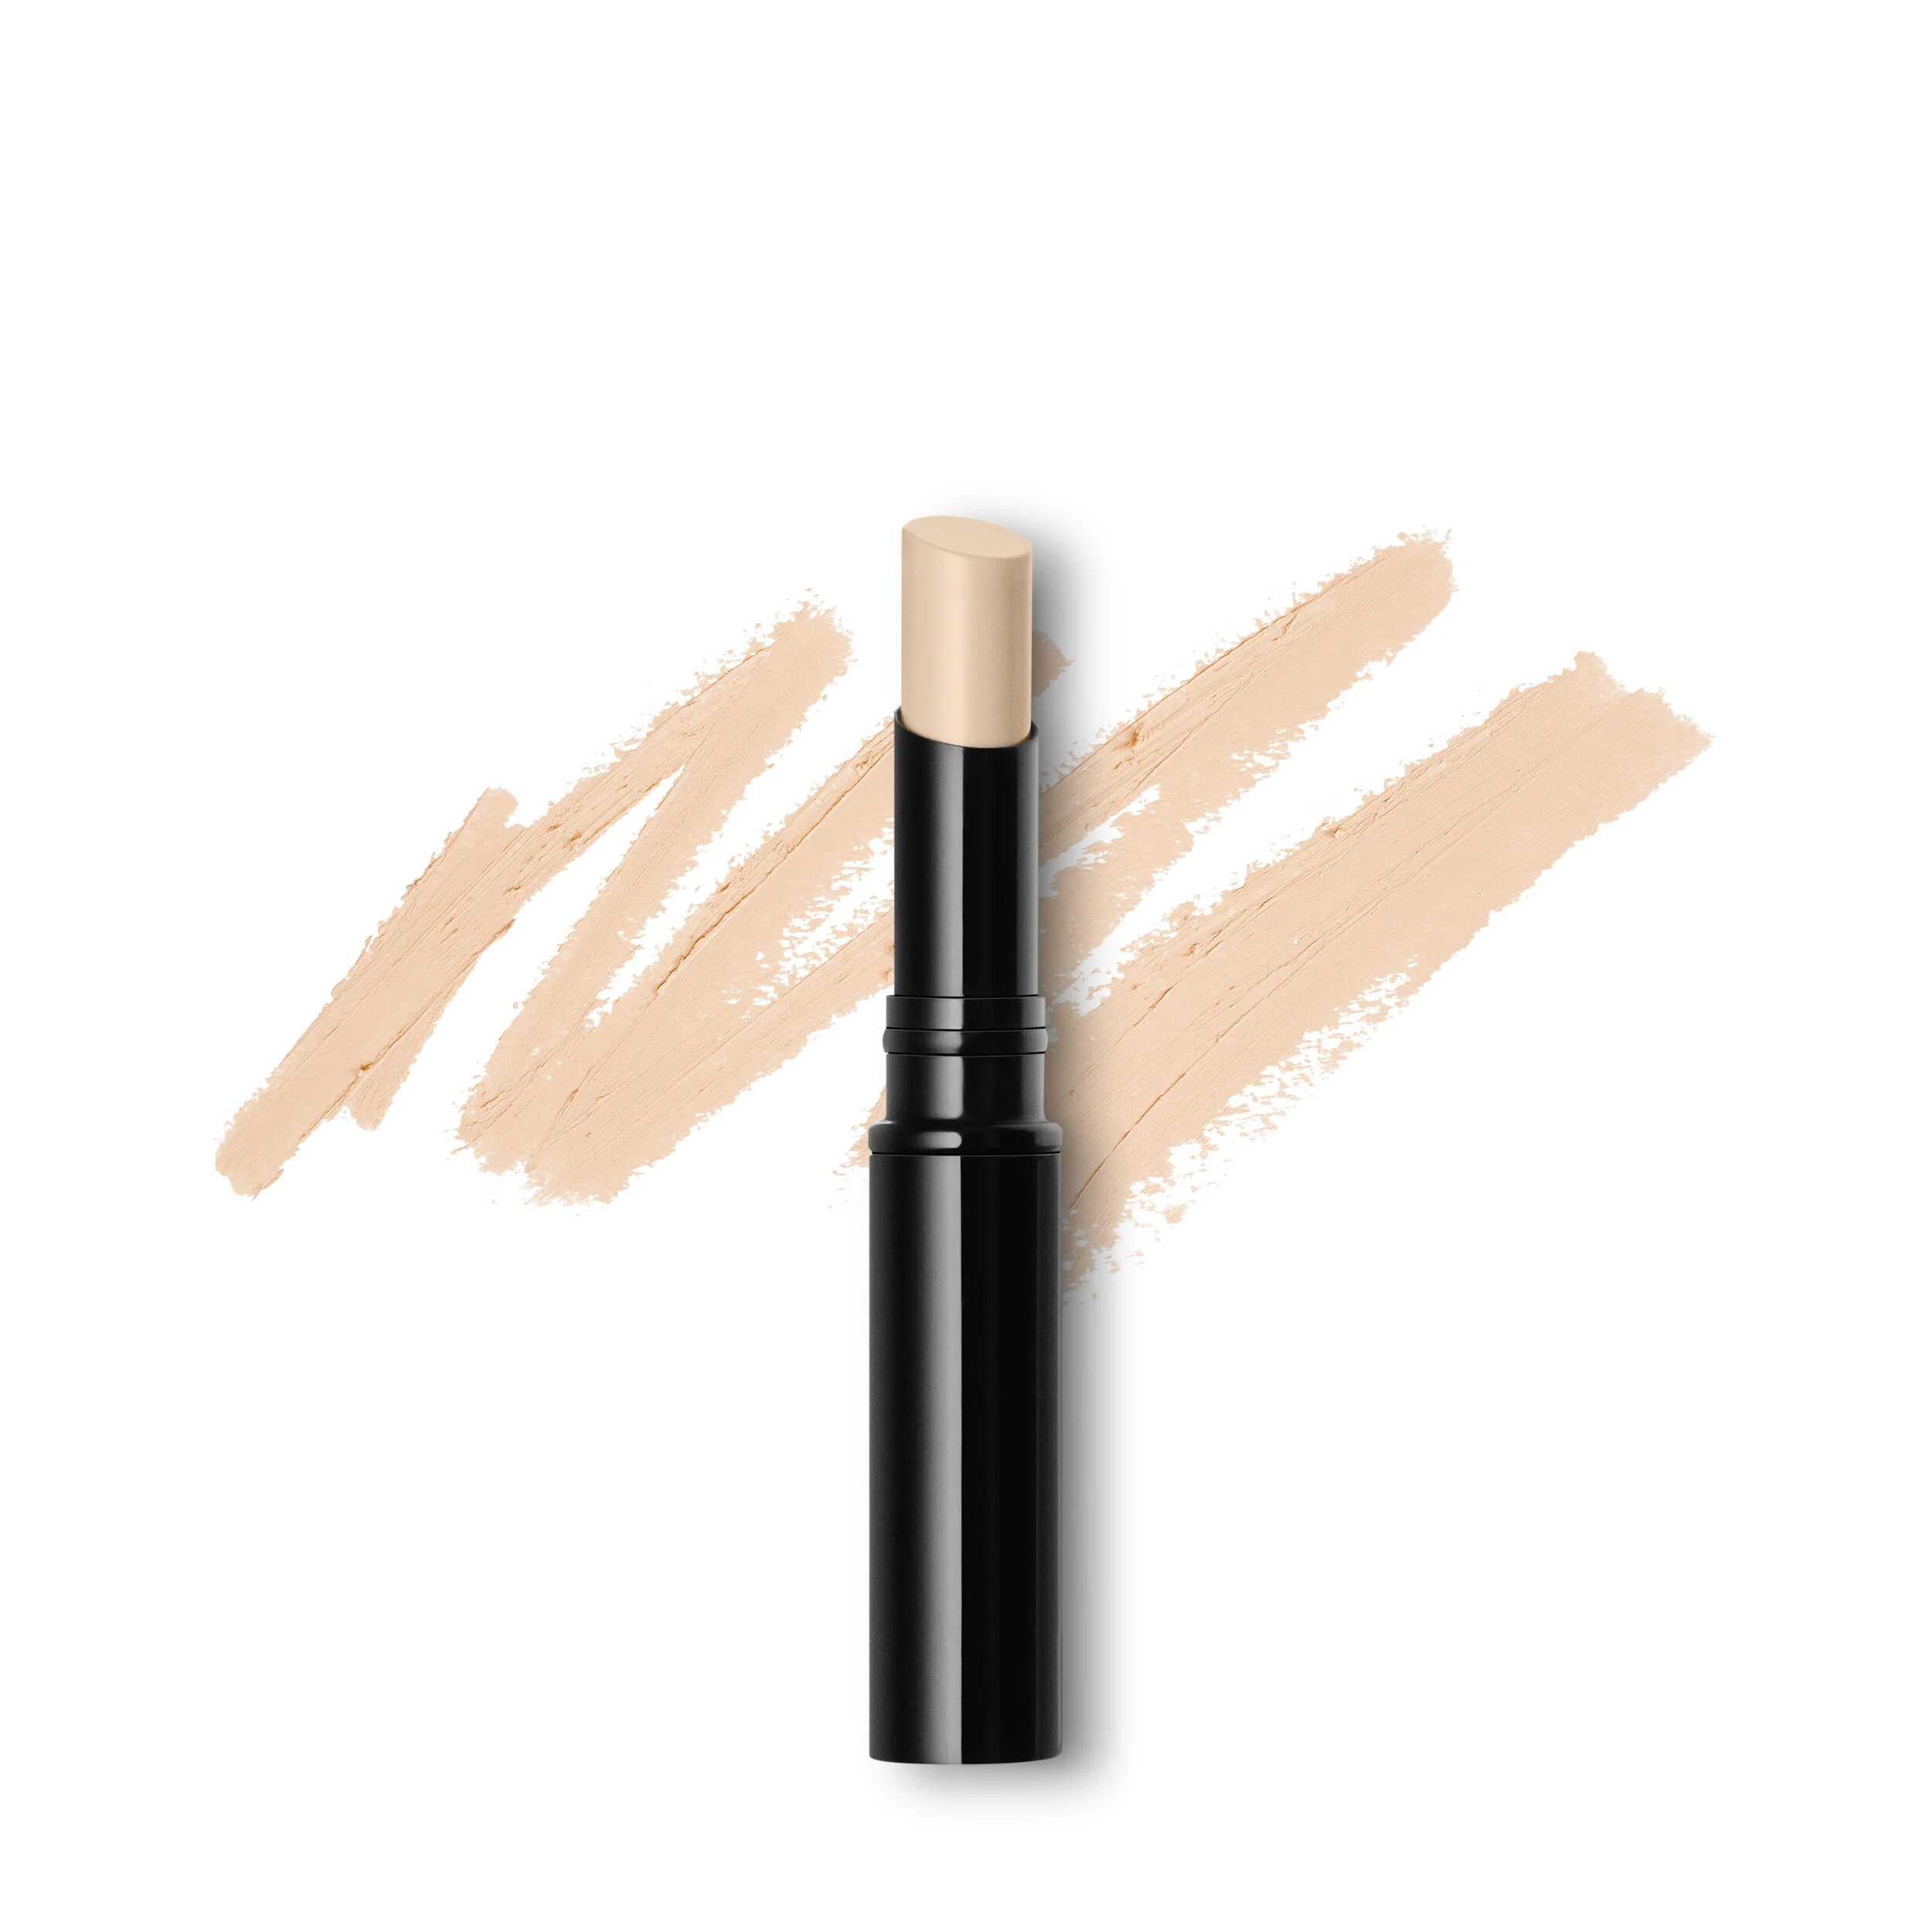
1. Everyone needs Body Makeup

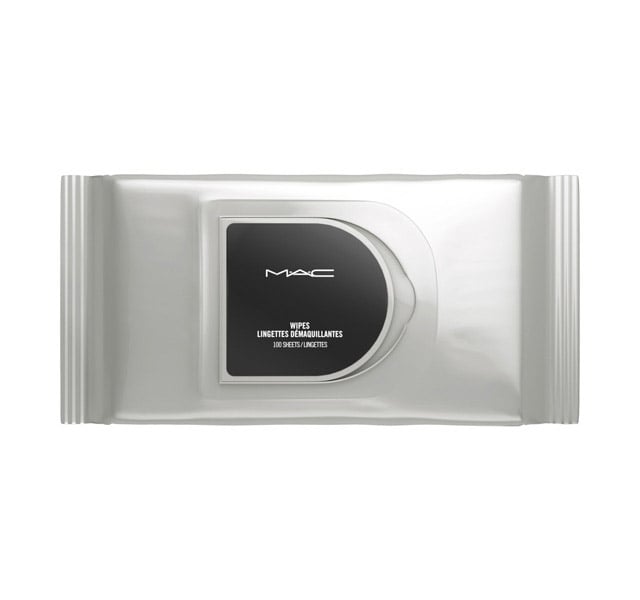
False - Only those who have visible blemishes, bruises, scars and tattoos below the neck and on exposed parts of the body may require body makeup. This is an additional service and is charged based on the size of the area to be covered and the time involved to do it. This type of service can be done with specialized body makeup or by airbrush application. Both applications give long-lasting, waterproof and transfer-proof results.

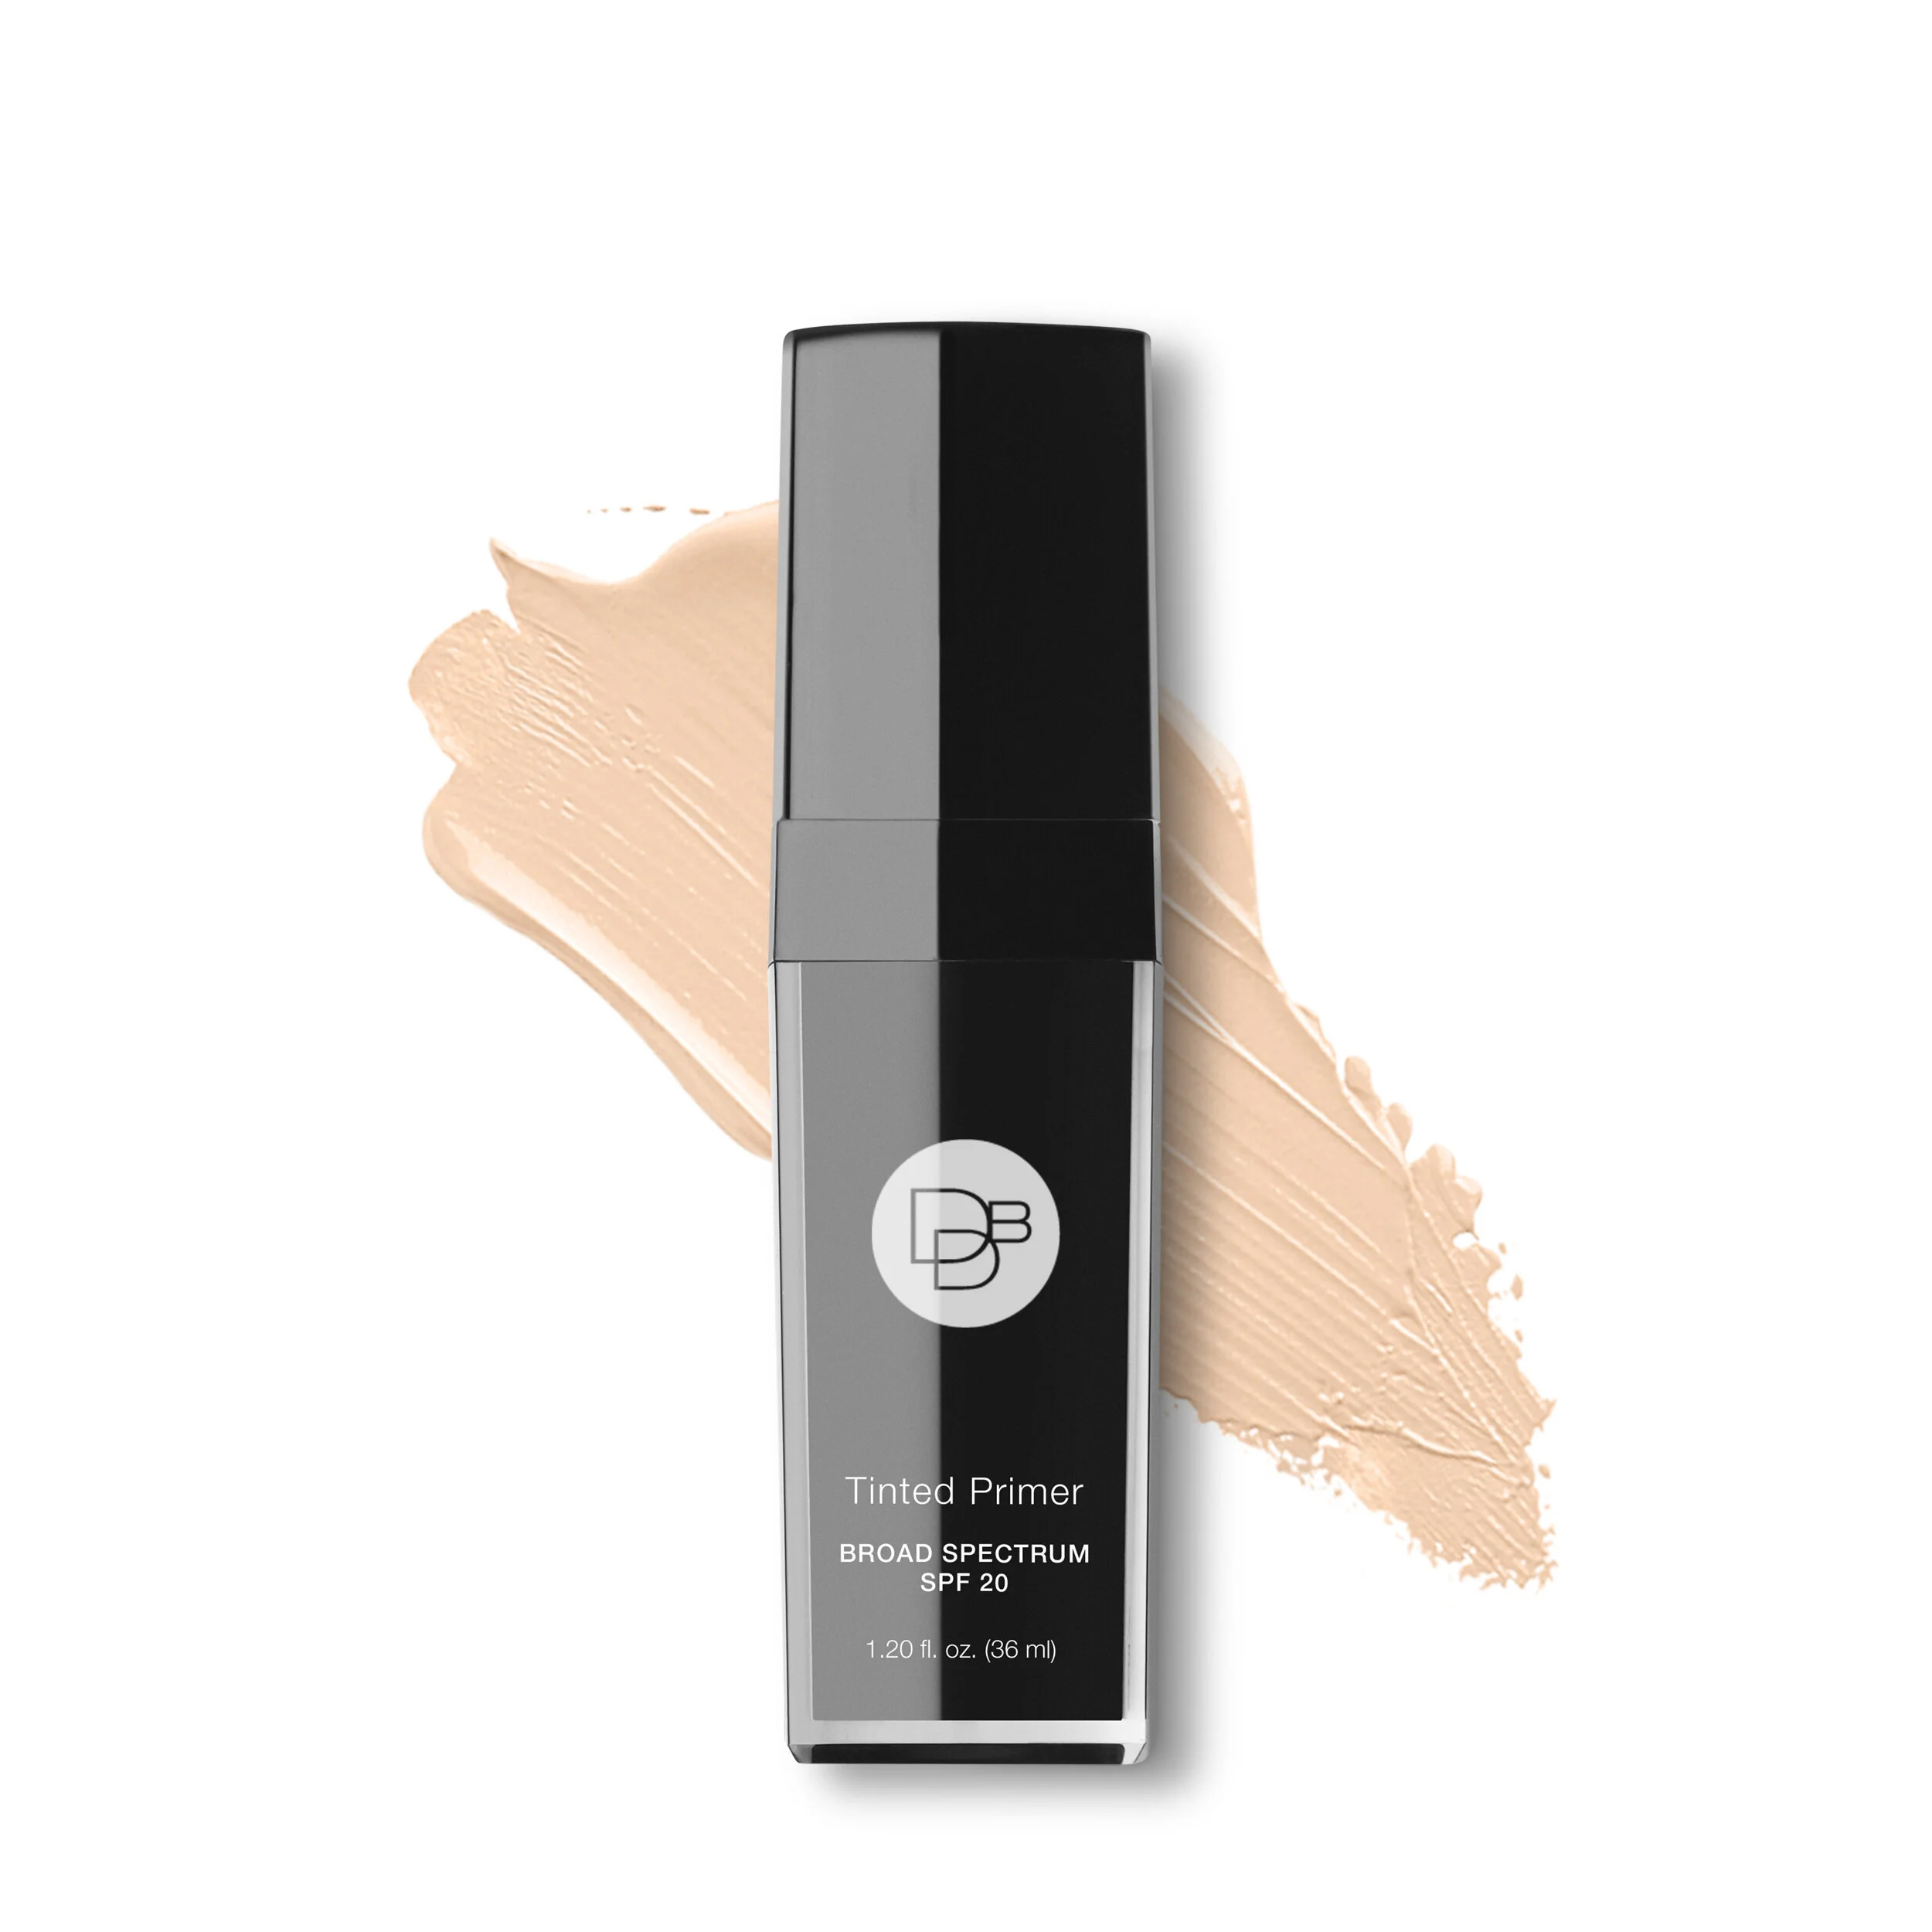
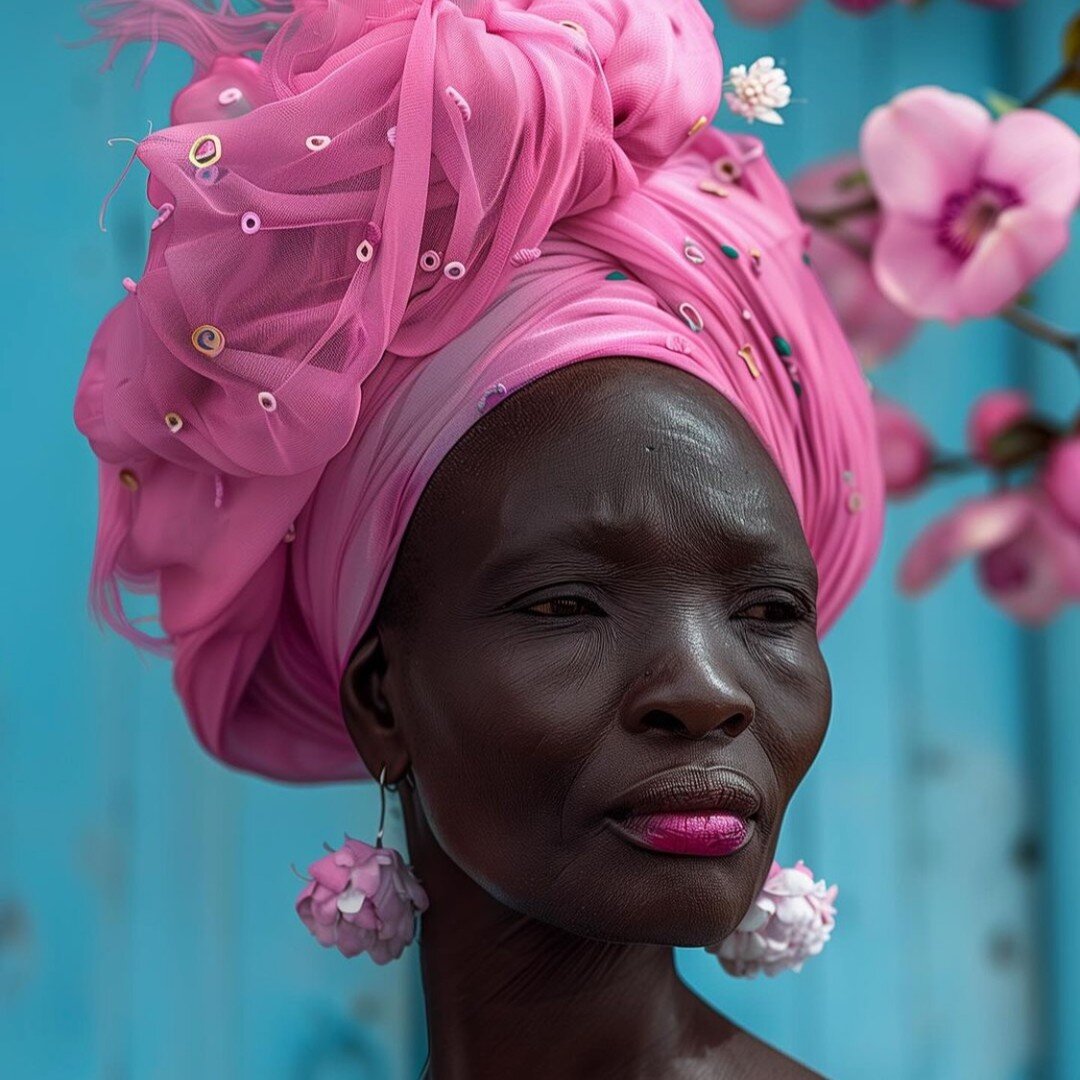
2. Tanning is a good idea for the sake of the photographs.

False – Skin tones of all shades will photograph beautifully without tanning. Besides, tanning beds are taboo and if you’ve never used self-tanners before - now is not the time. If you want to safely warm up your skin tone, opt instead for a safe and professional mist/spray on tan instead. This service is offered at both spas and salons and there are mobile artists who can come to you. On another note, strong tan lines are a makeup artist’s worst nightmare.  If you know that you’re in a wedding party later this summer and into fall – be sure to wear the appropriate bathing suit that “won’t” give you unsightly tan-lines. Do like the Europeans and go topless. Throw your nipples to the wind!

3. Touch-Up Services are Mandatory

False – Touch-up service can be very necessary for weddings on unusually hot and humid days and when a significant amount of time passes between photographs, pre-service, and the wedding commencement. It can also be a glamorous, princess experience; indulgence and nod to the Hollywood star treatment. This is usually an additional fee unless it is a part of the service agreement/contract.

4. Hiring a wedding consultant is essential.

False - If you are not good at organizing and can’t assign the task to someone then it’s in your best interest to hire a wedding consultant. A wedding consultant is your fairy godmother or sister. They can be hired to handle your entire wedding day or on an as needed basis. They are especially helpful for large wedding parties. As a self-confessed maniac organizer, I have stepped into this role for many weddings in order to manage time effectively and keep everyone on schedule and happy. 


Bonus Beauty Beats

I couldn’t form the following information into true or false so instead I’ll just give it to you straight.

5. Hiring Hair Stylists

If you want your favourite hair stylist to do your hair on-location for your wedding day, especially if it’s on a Saturday, you better be prepared to pay a high fee and here’s why: a hair stylist makes his/her money based on the number of clients he can service in a day. Most top-notch hair stylists can book as many as 10 clients in the course of a day. At an average price of $100 per client, that hair stylist will earn as much, if not more than $1000 on that day. If you aren’t willing to pay at least that much to them on your wedding day, then you better find someone else, perhaps his/her assistant or a referral. Of course you always have the option of going to him/her on the day of the wedding too. Book early and well in advance.

6. Hiring Makeup Artists

Makeup artists who provide on-location makeup services for weddings are fast becoming a specialty service provider; on-location services have always been on “most” professional makeup artists service menus. Any good artist and smart beauty businessperson will have a website that illustrates their talent, experience, reputation, and quality of service. Fees and rates vary widely (and seem to be the major concern for brides). It’s also important that the artist is confident making up the members of your wedding party. Make sure they know the skin tones, age, and requirements/requests of everyone involved. Bringing in a second artist will cut the schedule in half.

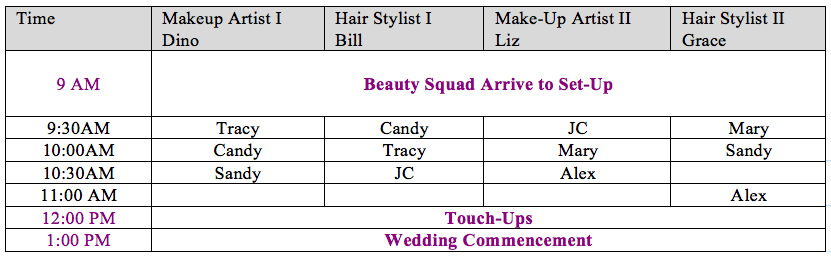
7. Create your Wedding Day Hair and Makeup Schedule

Plan backwards from your target time of when the pictures are to be taken or when the ceremony begins. Allow more time for last minute touch ups. Be sure to include any men who require grooming in the schedule too. Create your own schedule using the sample below. E-mail to everyone and have print outs available on the day. The following example is booked on the half hour with seasoned pros.

8. Dino’s Big Wedding Makeup Tip

When wearing makeup, never scratch or rub your face when its itchy or gets wet. Instead, tap itches and blot perspiration away.

What every bride needs to know... PART 1

It must be spring! The bridal requests are coming in and wedding movies are being looped 24/7 on women’s television networks. I’m amazed how huge the bridal market has become for makeup and hair stylists, and of course, we want your wedding day to run as smoothly as you do. Here are some tips from my end of the makeup brush, in this two-part blog:

It’s becoming customary for a bride to have a trial or two with a makeup stylist before the wedding. Your goal is to find a stylist you feel perfectly at ease with, and one who you can trust to recreate your chosen design on the big day.

Engaging a makeup artist shouldn’t leave you feeling exhausted and confused; it should be the complete opposite-- comfortable and confident!  My own mentors and peers agree that a professional makeup application always begins with a consultation.  Big, broad ideas, personal preferences, likes and dislikes are discussed before a single colour is selected. A talented and versatile stylist will be able to create different looks for the many skin tones, ages and stages of the human face (and perhaps, of your bridal party). Your final makeup should look and feel radiant both on- and off-camera. It should stay put through tears and toasts, vows, bows and wows! And it should stay beautiful no matter the weather, and no matter how long you boogie on the dance floor.


True or False Wedding Makeup Quiz


1.     There’s a specific way I should look on my wedding day.

False – You should look exactly how you want to look, not someone else’s vision of you.

2.     Your makeup has to be stronger in person in order for it to look great in photographs.

False - Today’s technology captures and portrays images as clear as the naked eye can see. What you see is what you get if you’ve got a good photographer (and makeup artist).

3.     Air Brush Makeup is the best for weddings.

False - Airbrush makeup has its place, but it’s not for everyone, especially those with drier, more mature skin. It is good  for body makeup and for camouflaging tattoos. There’s usually an additional fee for this specialized service.

4.     Everyone in the wedding party should wear the same makeup look.

False -  A wedding isn’t a fashion show, it’s a celebration!  Better everyone look and feel their best, supremely comfortable with their own look and not feeling made-over.

5.     Makeup and hair trials, or rehearsals, are a good idea.

True – These sessions are as essential as your bridal gown fittings. They can give you peace of mind because you’ve taken  the time beforehand to work out the details of your individual look. And being able to trust your pro to replicate it on your wedding day is as calming as a glass of bubbly.

How to be Camera-Ready for Virtual Business

Dino Dilio - Be Camera Ready

Zoom like a Pro

One of the beauty bonuses of working from home is that you really don’t need to wear any makeup. But when a Zoom meeting lands on your schedule, a little effort will ensure that you present a professional image. I'll share some beauty pointers to get you camera-ready: pretty and polished in 15 minutes or less! First, though, here are some simple technical tips that will make the most of your appearance.

Your Virtual Studio

When it comes to setting up your portal to the world, you're essentially creating your own mini photo-shoot studio at your desk or in a custom-created space. Allocate a place in your home where you feel comfortable, but a place that also shifts you into business mode. With a little decor edit, this could be a cozy corner in the kitchen, a secret alcove or somewhere in the basement. The key is to ensure the space remains off-limits to everyone else in your home while you're online. This is your movie set—dedicated exclusively to conducting business.

Background

I'm fascinated to see the background setting of individuals who communicate virtually. Students, for example, often post videos of their work with rumpled sheets and pillows as a disconcerting backdrop. I immediately send a message: Make your bed! As you consider your surroundings, think about how much you want to share with co-workers and clients. Do you want to show photos of your family and friends that could draw attention and inspire personal questions that you’re not ready to answer? (Oprah has a stunning painting of a young black girl as a background to her virtual meetings; it looks so beautiful and I always wonder, is it her?) Do you want to include objects that communicate your lifestyle, or reveal just a tiny taste of how you live? I vote for a neutral background that keeps the focus on you, with no distractions to take your audience off-point. A clear wall with a few selected pictures or a single piece of art is always a nice touch. You could fashion a background by hanging a simple pair of curtains neatly over a door, or brand your background by displaying your company logo. Zoom offers downloadable backgrounds from movies sets, some of which are breathtaking and fun.

Lighting and Locating

Just as a fashion photographer positions models and directs light to achieve the best shot, the same kind of strategic angling can enhance your online look. Think of your computer as a camera, with you as the focal point. Place books under your computer to raise it to the level and position that captures and enhances your appearance from shoulders up, waist up, or somewhere in between. Here’s a specially designed and adjustable laptop stand created for this purpose. The frame should outline your head and hair and a portion of your background. To look your best, your computer should sit near the best lighting sources in your home. When sunlight isn’t available, or when you’re Zooming into the wee hours with international clients, set your main light just behind the center of your computer screen to project onto your face. One or two lamps from your living room can be called into duty. (You may be able to angle this light towards the most flattering side of your face. Most of us have a "good" side). Place supplementary lights on both sides of your screen for more dimension and interest. Don’t use ceiling fixtures as your main source of light as it casts unflattering shadows.

Ring Lights

These are best used with smart phones and tablets that you affix to the center of the circle of light. Their features allow you to control the light’s intensity and temperature for instant set-up and custom lighting. Conveniently, you can use them anywhere. Available on Amazon in various sizes, I like the 18- and 20-inch models. I also use them to brighten my home studio on gloomy days. I also discovered a cute and compact version. This particular LED Ring Light clips on to your computer or phone and has 3 light settings


Natural, business-savvy makeup Application for zoom

Skin

Follow your usual beauty routine to clean and moisturize your face. This step ensures you can apply your makeup efficiently and with control.

Concealer

Any pink or redness in the skin is amplified on computer screens. The right concealer may be all you need to address this; you may not need foundation. Concealer should match the colour of your skin (and your foundation, if you use one). Use it to cover prominent redness around the nose or mouth and over any dominating blemishes. A concealer that is one-half to one shade lighter than your skin will work to reduce shadows that form under and around the eyes and the mouth. If you follow me on social media, or have had a lesson with me, you're familiar with my colour-correcting technique. To disguise those dark blue shadows around eyes, I use a peach-based concealer for fair skins, and an orange shade for dark skins. Each works best with foundation blended over top. Lightly dust with powder to set in place.

Foundation

If you need to even out your complexion more, reach for your usual liquid, cream or powder foundation and carefully “stipple” over top of concealed areas.

Powder

Even if you don’t usually use powder, pressed or loose, I strongly encourage it to mat excess shine that can make you look sweaty and nervous on camera. Focus application on the T-zone where light reflection can be strong and unflattering. If your skin is oily, powder your face completely for a smooth, velvety finish and long-lasting oil and shine control. Check out my Invisible Powder

DDB Mineral Powder Foundation

A powder foundation like my Mineral Powder Foundation can be the quickest way to get your face “camera ready”. Check it out!

Blush

Too much blush will make you look feverish on screen. You want your blush to define your cheeks and add a little glow that says, Here I am. Let’s get to work! Apply cream blush after foundation and before powdering. Apply powder blush after set-powdering your entire face. Smile and begin application at the ear, follow the cheek bone and finish by sweeping upwards onto apples of cheeks. Buff until well blended. Use softer shades if you're fair and richer shades if your skin is tanned or dark. Wash lightly across closed eyes. Poof—instant eyeshadow! Check out my Pretty Powder Blush Collection.

Eyeglasses

A cool trick I learned working with celebrities, is that they would wear glasses on days when their eyes weren’t looking quite so fresh and bright. They chose different colours and styles with non-prescription, non-reflective lenses to suit their personal style. Glasses have a way of filtering and blurring light around the eyes, similar to the old Hollywood trick of coating camera lenses with Vaseline to make mature actors look younger. Whether you usually wear glasses or not, wearing them for a Zoom call can sometimes negate the need for eye makeup. Please do not wear sunglasses for professional meetings. They send a negative message about how you feel and don’t hide the after-effects of the night before as well as you think. Shades may look cool on celebrities but they're not cool for doing business. Reach for your readers or order a groovy new pair of specs on-line. Take advantage of advice and apps on these websites; they can help you find the best set of frames to flatter your face shape.

Eye Makeup

If you enjoy making up your eyes, then by all means, do so. Consider working with a natural palette of ivory, tans, taupes and browns, which will look clean and softer on camera than will cooler colours like pinks, blues and purples. Avoid metallic and glittery makeup that could make you look like you're headed out clubbing as soon as you sign off. Use eye drops to remedy tired, red eyes at least ten minutes before your meeting.

Lip Makeup

Play it safe and reach for the same lipstick or gloss you have come to rely on. If you don't wear lipstick, lip balm will keep lips moisturized. Dry lips look like elephant skin onscreen. I’m not a fan of matte lipsticks. Unless you have voluptuous lips, this texture can make them look flat, especially in darker shades. On the opposite end, lip gloss that is too shiny can make you look like you just ate a juicy hamburger. Check out my Satin Smooth Lipsticks and Luxe Glosses.

Test Shoot

Do a trial run on your own to ensure you look like you want to on camera. You’ll be able to see yourself exactly as others will see you on their screens. Adjust accordingly.

  • Is the background, lighting and angle of your screen in check? Does the frame shot capture all you want viewed?

  • If prominent shadows show up in your test run, brighten your lighting or apply more concealer to the darkest areas of your face.

  • Does your complexion look even and fresh rather than shiny and sweaty?

  • Have you camouflaged redness and blemishes?

  • Is your blush too weak or too strong? Add more, or tone down with face powder.

  • If your eyes appear lost behind your glasses, consider applying mascara. Dress your eyelashes by directing the application into and along the roots of the lashes. This technique creates a natural outline that will open up your eyes. Layer on a second coat for more lushness.

  • Want more eye emphasis? Add a dark brown eyeliner or eyeshadow applied with a fine angle brush along the base of your lashes. Begin with a thin line and widen where necessary to suit your eye shape.

  • Check that you're satisfied with the look of your lips. Are they too soft and invisible? Too bright? Or too dark? Too matte? Too shiny?

  • If I'm having a bad hair day, is it okay to wear a hat? Depends on the hat. Stay away from baseball caps and hats with wide brims. Both styles will cut off light from your face and create shadows. Instead, pull your hair back, put it in a pony or try a fabulous wig that you feel confident wearing. Turbans fashioned from scarves are dominating the virtual world right now. They solve bad hair days and add a little extra colour to the picture so many of us are looking at these days!

    Check, check and check. Congratulations! When you're "camera-confident," you can relax about how you look and focus on the matter at-hand—your business!

SUN SENSE

Sun Sense Beauty Bites with Dino Dilio

It’s that time of year again: sunscreen becomes our best friend! I’m pleased to report that some formulas are so advanced that they can take the place of moisturizer and primer under your foundation. This is good news for the reluctant user, for oily skinned individuals who found previous products too heavy and greasy, and for consumers who believe that all sunscreens will leave a white cast on their skin.   

Sun damage is the number one cause of wrinkles, brown spots, and melanoma--a dangerous form of cancer.

I believe that facing the sun without protection is the express lane to dull and old-looking skin. Research proves that using sunscreen daily will slow down the aging process and beat out any magical cream or elite elixir. In fact, using a broad spectrum sunscreen is the best thing you can do to heal previously compromised skin. And it’s the best thing you can do to minimize future damage.

Broad spectrum sunscreen protects the skin by forming a barrier against the full range of the sun’s rays, both UVA (Ultra Violet Aging) and UVB (Ultra Violet Burning). Take care, however, not to be deceived by products advertising a high sun protection factor. The difference between SPF 60 and SPF 100 is minimal--so minimal, that many labels now read simply 50+. Most people don’t apply their sunscreen adequately; they’re barely protecting their skin. To remedy this, the U.S. Food and Drug Administration declared the daily recommended SPF be increased from 15 to 30. As well, it’s now mandatory that “water resistant” sunscreens display the length of time they remain effective while skin is in direct contact with water. (Most need reapplying after about 40 minutes.)

Choosing the right sunscreen comes down to your personal preference of texture and application--be it spray, gel, lotion, cream, or stick. Whichever you choose, your sunscreen should compliment your skin type and meet the demands of your daily activities. For example, spray-on sunscreens are ideal for athletes because they’re sweat-proof and won’t run into the eyes and cause stinging. Gels and lotions are ideal for combination and oily skin types because these formulations evaporate after application, yet retain their SPF effectiveness. Creamier sunscreens can be hydrating and act as a moisturizer for drier skins. Sticks are convenient to apply in an instant to nose, tops of ears, and lips.

Once you’ve determined which sunscreen suits you best, apply and wait ten minutes before dressing your face with makeup. Virtually all makeup is available with SPF. A quality foundation or BB Cream and lipstick are the place to start.

When you’re in direct sun, pay extra attention to commonly forgotten ”blind spots”: the part in your hair, scalps for individuals who are balding, tops of ears, nose, lips, the front and back of the neck, and the chest. Do remember the backs of your hands—and your feet! Wearing long-sleeved shirts, pants, sunglasses, and broad-brimmed hats will help keep your skin healthy, too.

Depending on where you live, the sun’s rays are usually strongest between 10 a.m. and 2 p.m. Apply sunscreen rain-or-shine, and at least 20 minutes before sun exposure. Reapply as directed, usually every two hours, and more often when exercising and swimming.

Want an application reminder?

Set your phone to beep. Be sure to use the right amount: ½ teaspoon is recommended for the face and a shot glass or more for your body. Ask someone to help you with hard-to-reach areas. It might be a nice way of getting to know someone new. Wink, wink.

Check your skin regularly for any abnormalities and report them to your doctor or dermatologist. According to the Canadian Dermatology Association, individuals with skin cancers have a high survival rate if the cancer is detected early. Look for lesions that are new and that stand out from the rest of your body. As well, watch for any familiar lesions that are changing appearance. www.myskincheck.ca is a good resource for checking any moles or sunspots until your doctor gives the definitive word.

Please, protect and/or take cover in the name of beauty!


DDB Moisture Tint Plus SPF 20

Winter’s Brilliant Little Multi-Tasker: 7 More Things You Can Do with Lip Balm

Dino Dilio Beauty Tips

When winter hits, lip balm is an unsung hero. After all, it’s the best companion to combat the ever-looming chapped lips syndrome—and much more. A quality lip balm will include emollients like Jojoba and Shea oils to moisturize and soften, plus waxes to lock in moisture; its price shouldn’t exceed the cost of 2 cheap cocktails or 2 fancy coffees. While applying balm to clean lips makes an ideal base for lipstick and gloss, this inexpensive beauty basic goes places way beyond just our lips!

  1. Massage into dry cuticles to soften and condition after washing and drying hands.

  2. Swipe balm lightly through eyebrows to add sheen, then use fingertip to groom hairs into place.

  3. Paint generously over palms of hands. Massage together, and then smooth over flyaway hairs to tame. Great trick for hat head.

  4. After a bath, massage olive oil onto dry elbows and heels and then lock in with a layer of lip balm.

  5. Swipe across exposed parts of the face in frigid weather for even more protection.

  6. Apply potted lip balms with clean lip brush, new cotton swab or freshly cleansed finger. (For maximum hygiene, carry a stick version of balm to use throughout the day.)

  7. Pick up balm with thumb and index finger and work into unruly moustache and sideburns to groom.

It’s Da Balm!

Paula’s Choice Lip & Body Treatment Balm - This astoundingly concentrated formula offers on-the-spot relief upon application to dry, chapped lips as well as on elbows, cuticles, and nails. Tames unruly eye brows and fly away hairs.

Jumpstart your skin with a new way of exfoliating

I wouldn’t be doing my job if I didn’t include skin care consultations in my studio makeup services. The condition of our skin plays a vital role in portraying overall health and well being and it determines how makeup applies, looks, and lasts. When it comes to beauty and biology, our skin is our most personal and precious possession!

Now that fall is here, we can go beyond summertime’s basic cleansing and moisturizing routine and give our skin a brand-new start. Exfoliating is one of the best things we can do for our skin. Exfoliating sloughs away the last traces of summer tans the same time as it prepares our skin for the most brutal time of year--winter. Like any organ in our bodies, skin needs to be stimulated to perform at its peak, and just as exercise makes our hearts beat faster, exfoliating jump-starts our skin’s function and appearance.

Until now, we’ve had a choice between massage-in and rinse-off scrubs made with ground nuts and seeds, the scrubs made with granular synthetic micro beads, and the more-recent liquid chemical exfoliants. I’ve never been a fan of scrubs made with ground nuts and seeds because they commonly have jagged, rough edges that can cause microscopic tears and scratches on the skin. I have seen too many clients whose redness and skin sensitivity was caused by applying a scrub too aggressively and using it too often--sometimes twice a day. The nut and seed exfoliants work better for your feet, elbows, and other areas on the body where the skin is thicker and more tolerant. 

The synthetic micro-plastic beads found in some skin cleansers and scrubs are damaging marine life and water eco-systems because they are not biodegradable. So, I recommend chemical exfoliants that are similar in texture to toners or light lotions. For convenience and performance, I prefer these “leave on” products for working their magic above and below skin level. Chemical exfoliants come from the dermatological world of micro dermabrasion and chemical peels offered at dermatologists’ offices and medical spas. Stay away from the on-line scrubs whose concentrations are often way too high for personal, at-home use.

Regular, gentle chemical exfoliation is an easy step in elevating your skin care regime. As well as maintaining healthy skin, exfoliating treats uneven skin tone and texture by smoothing lines and wrinkles. Who doesn’t want that? For over 15 years, I‘ve been using Paula’s Choice products and recommending them on Cityline. Brilliantly formulated and affordable, Paula’s Choice bases its ingredients on published, scientific skin care research. PC exfoliants work to dissolve the glue-like substance that traps built-up dead skin cells, sloughing off those cells to uncover the fresh, new skin beneath. These products smooth and soften the skin, which allow follow-up moisturizer and serums to completely absorb. As well, they penetrate deep to stimulate the collagen synthesis/factory via peptides, vitamins, and anti-oxidants. Collagen generates new cells and improves skin structure, function, and clarity for softer, smoother, plumper, less-lined and wrinkled skin.

Paula’s Choice exfoliants

Paula’s Choice exfoliants come in different formulas and strengths. Each has special qualities you’ll want to consider when deciding which one to use:

AHA (Alpha Hydroxyl Acid) is typically made with glycolic or lactic acid, which is preferred for sun-damaged and dry skin. It dissolves flaking skin on the surface and improves the skin’s moisture content. AHA helps to repair signs of aging and sun damage to reveal new, radiant, polished, younger-looking skin. 

BHA (Beta Hydroxyl Acid) is a salicylic acid best suited for oily, acne-prone skin, and for treating blackhead and blemishes. This oil-soluble acid penetrates deep into each pore’s lining to flush out, unclog, and dissolve blackheads. BHA visibly shrinks the pores’ appearance. Also, its anti-redness and anti-inflammatory qualities treat acne and sensitive, reddened skin (including rosacea).

Chemical exfoliants go on as easy as a toner or lotion. No rinsing off, or left-behind grains and grime. Choose a formula that is compatible with your skin type: liquid and gels are ideal for combination and oily skins; choose a lotion for drier skins. Begin with the lowest strength and apply after cleanser and toner, but before serum and moisturizer/sunscreen. Results are seen almost immediately, and with dedicated use, exfoliating continues to improve skin’s appearance over time. Visit www.paulaschoice.com to learn more and place your order. Try their sampling program for new products and travel-size convenience.  

PAULA'S CHOICE EXFOLIANTS

WIPE OUT

Let’s be honest. We know it’s not good to sleep in makeup—but sometimes it does happen.

Could it be your current cleansing method involves multiple steps or products? When it’s 2 a.m., who wants a process? Make it easy on yourself; use what I use when preparing an individual for studio makeup, a photo shoot, wedding, or Cityline taping: a perfectly performing cleansing wipe.

Makeup removal wipes evolved from the handy baby bum wipe, which I remember CBC and City TV talent using when they finished their on-camera shifts. A big tub of wipes sat in the makeup room for male reporters, especially, to grab, wipe, and go. God forbid they show up at a restaurant wearing more makeup than their date. Thankfully, in the early 90s, MAC refined the bottom wipe and came out with a more face-friendly version. Efficient and convenient, theirs became the fashion industry standard. Since then, virtually every other cosmetic line has followed suit--some much better than others.

The scent, size, texture, moisture level, effectiveness, packaging, and price of cleansing wipes vary--and I have tried them all. Many brands promise over-the-top results for such a simple, throw-away beauty buddy. I have little faith in the concept of this little cloth addressing concerns like acne and anti-aging…. All I ask of the handy humble wipe is that it do its job.

A good-quality pre-moistened makeup removing cleansing wipe should be thick enough to handle without tearing and wet enough to work without dripping. It should completely dissolve--and remove--all trace of face and eye makeup, oil, and dirt, completely lifting it away and locking it into the cloth. The moisture should evaporate, leaving no residue on the skin. And it shouldn’t cost a lot.  

My favourite wipes are so effective they can take the place of your traditional eye makeup remover and cotton ball routine. If you need one to do extra duty (especially on waterproof eye and lip makeup), pour a little waterproof eye makeup remover onto a wipe to make a super-duper makeup eraser.

A delicate, but important point is that, in a pinch, most facial cleansing wipes can be used on other parts of the body when bathing facilities are not available. Do not flush wipes down toilets, though, but dispose in the garbage receptacle.

  1. *Life 3 in 1 Cleansing Cloths @ Shoppers Drug Mart: 56 - 8.25” X 5.5” cloths available in double packs and refillable convenient tubs. $8.99 - $14.99. Travel Pack 15 sheets, $3.29 / 16¢ per cloth.

  2. *Exact Facial Cleansing Cloths @ Loblaw’s: 56 - 7.5 X 5.25” cloths available in double packs and refillable tubs. $7.99 / 14¢ per cloth.

  3. *Kirkland Signature 150 Daily Facial Towelettes @ Costco: Box Set: 4 – 30 sheet packs with great flip top closure plus 2 – 15 sheet travel packs. Total of 150 towelettes. $11.99 Winner of Most Wipes for your dollar AND Best Buy @ 8¢ per towelette.

  4. *MAC Wipes: Bulk Artist Pack 100 – 8.5 X 5.5” wipes, $34.50. Regular/Personal Pack 45 sheets, $24. Sized To Go: 30 wipes, $12. Winner of Largest Size Wipe.

  5. Olay Fresh Effects Everything Off Deluxe Makeup Remover Wet Cloths @ Shoppers Drug Mart & Loblaw’s: 25 - 7.5 X 6.25” Cloths, $8.43 / 33¢ per cloth.

Travel Tip: Decrease the weight of your “beauty bag” by packing a suitable supply of wipes in a zip-lock sandwich baggie.


WATCH THIS VIDEO for more ways to use makeup Wipes

Price Disclaimer: Posted prices provided by supplier, store, or vendor and are subject to change without notice. Many are often and regularly on sale, especially Life @ Shoppers Drug Mart. 

Slap Happy For Lip Chappy!

Lip Chappy

With the winter weather upon us I thought it was a good idea to re-visit the yearly issue of chapped lips.

Chapped lips are certainly the sign that winter is here for awhile.  The bitter cold and wind of outdoor weather and dry indoor heating really plays havoc on your skin, especially your lips having very few oil glands. The cracking, flaking, burning, and chapping are uncomfortable, unpretty and unwelcome. Preventing and treating parched and puckered chapped lips requires faithful dedication. Skip a day and your lips are right back where they started.

These soothing and softening sticks promise an end to tender lips stung by harsh, cold winter weather and arid climates by helping to seal in the lip’s moisture with emollients that are lubricating, repairing and protective. Keeping lips moist, hydrated, soft and protected is essential.

Slap happy for lip chappy. I’ve always advocated using a lip balm daily to both women and men. For women it paves the way for lipstick. For men it paves the way for kisses. Right after brushing your teeth use a warm, damp terry facecloth to slough off visible flaking skin. Lightly pat dry and immediately apply a good quality lip balm. This ritual keeps your lips smooth, soft and protected for the day. It only makes sense to carry and re-apply lip balm after meals and smooching. I have one stashed in every coat pocket and bag.

Choosing A Lip Balm: 

Choosing lip care products is challenging, as the market is flooded with tubes and pots of balms, salves, and ointments. Most are merely waxes in fancy packaging that don’t work.

  • Avoid balms labeled as medicated which contain camphor, menthol, peppermint oil, or eucalyptus. These trick you into believing that they are “working” by creating a new but different irritation. As pleasant as these medicinal salves smell they are actually skin irritants that burn and hurt, not heal and help chapped lips.

  • Look for a balm that is a super emollient with water binding agents like cocoa butter, lanolin, or Shea butter. Balms with mineral oil, natural plant oil (apricot, cocoa nut, corn, jojoba, macadamia, sun flower, or sweet almond oil), emu or squalene oil provides a protective coating from the elements while locking in moisture and treatment.

  • Avobenzone, titanium dioxide, or zinc oxides are also beneficial for sun protection of SPF 30 and much higher, SPF 60+ for skiers and outdoor workers.

  • Buy self-dispensing tubes or roll-up sticks not jars and pots, which are less hygienic.

  • Never share your balm unless it’s with the one you kiss.

  • Buy in bulk – stash one into every coat pocket and bag you use. Reapply after meals and smooching.

  • Persistently chapped and irritated lips are best treated by a qualified dermatologist/specialist.

Potato Chip Lips – occur when the lips have severe cracking, flaking skin and in some cases sores and bleeding which are usually caused from picking. This is where a lip exfoliating procedure comes into play. The best time to exfoliate lips (to remove dead skin cells) is after showering and brushing your teeth:

  1. Apply a coating of Vaseline to your lips and wait about five minutes for it to lubricate and loosen the flakes.

  2. Apply a warm wet terry facecloth as a compress to lips. Let it sit until it cools down. Use the cloth to rub off the now moistened flakes. Some people use their toothbrush in a gentle rotating buffing motion to remove the dead skin. I find it too abrasive and hard to do.

  3. Massage a drop of olive oil on your lips and allow it to soak in for 5 minutes. Blot excess away and apply lip balm to lock in moisture, sooth, soften and protect.

There are manual lip exfoliants available that are a bit grittier than the kinds you would use on your face. They are applied, left on for 10 minutes and removed with gently buffing to loosen and lift away flakes. There are also “pumice stick” versions of this approach for convenience.

*Make your own scrub by mixing baking soda, salt or sugar into a paste with warm water. Massage on and leave on for 5 minutes. Rinse thoroughly, pat dry and slather a thick coating of an emollient lip balm or Vaseline to moisturize and seal.

Don’t leave the house with a kisser full of Vaseline unless that’s how you really want to appear to the world. I am not a fan of shiny lips on men unless they’re in a dress. Blot off excess shine with a tissue to avoid this confusion.

Lip Make-Up Tips

  • For easy elegance, use a tinted lip balm or lip-gloss or a sheer, emollient lip crayon to gently colour and keep the lips conditioned and protected.

  • Stay away from matte, dry textured and long-lasting lipstick formulations until your lips are in their best shape.

  • For more lip definition use the new waterproof lip liners out on the market. They are creamy and easy to use to line and colour the lips. It sets easily and stays-put without drying.

  • Wear alone or layer with lip-gloss or a creamy moisturizer.

Be sure to carry your lip essentials with you to refresh and repair your lips anywhere. Remember, oily food is your enemy when wearing any kind of lip product. Remove lip make-up completely before casual meals like barbecues. At fancier affairs, be aware of how you eat as to minimize damage to your lips, especially the outer perimeter. If it’s gone beyond the outer perimeter, it’s best to remove lips completely and reapply in the ladies room. Touch-ups are considered acceptable at the table as long as they are just that, a touch up. A major lip overhaul requires more privacy please.

chapstick-classic-cherry.jpg
vaseline-lip-therapy_beurre-de-cacao.jpg

Recommendations available at Shoppers Drug Mart.

  • Chapstick The Lip Moisturizer with SPF15

  • Banana Boat Sport Performance

  • Vaseline with Shea Butter

  • Balea Lip Balm

  • EOS (Evolution of Smooth)

Hello Summer

Hello Summer - Dino Dilio

Hello and Happy Summer! 

I hope you’re sitting by a pool, in a park, or on a beach (wearing sunscreen) and enjoying some vacation sizzle. Here’s a little light reading while you chill, plus the scoop on micro-blading.

School’s Out!

I’ve just completed teaching a beauty course at CMU College of Makeup Art & Design. With lively students from all across the globe, the classroom environment was rich with culture, creativity—and comedy. I’ll never forget “Air-Brush Makeup Day”…. You may have seen this compressor contraption on TV. Fun was had, but the consensus was that fingers, sponges, and brushes win out every time!

Cityline Soars!

Did you know that Cityline is the longest running and most successful daytime show for women in North American history? And I am so proud to be apart of it since 1991. Congrats to Tracy, Candy, Sandy and the incredible team of talented City women. The show reaches over 90 million homes across the continent!


The DDB On-Line Beauty Shop

This summer we’re introducing three new products to refresh, protect,
and make you shimmy and shine. 

Body Makeup: What you need to know to cover it up! From birthmarks to tatoos...

Dermablend is one of the first camouflage/paramedical makeup lines created for the consumer by Flori Roberts in 1960.  It has always been favoured by individuals with serious skin discolourations from birthmarks to tattoos and by professional performers who must look their best on camera for long periods of time under hot bright lights. Revamped and now owned and operated by L’Oreal, Dermablend returns to the Canadian market in my favourite shopping place­­ — Shoppers Drug Mart.

Recently, I met with Dermablend and learned all about the revised line, especially the new Leg & Body Makeup. Which is perfect for this time of year when everyone is showing more and may have something to hide. The wonderful hydrating and lightweight formula glides on seamlessly and builds up impeccably well covering everything from a minor, last minute blemish to large-scale tattoos. Varicose veins, brown spots, bruises, stretch marks, scars, and birthmarks instantly disappear. A wee bit goes a long, long way and can be applied with fingers and with Dermablend's special black sponge that covers large areas well. The finish is second-skin like which is great for men. I hear drag queens are using it on their face because it cuts down the time making up. The 12-shade range is very impressive and reflective of actual and modern skin tones. In my opinion, the line needs to expand the lighter end of the spectrum for our fair skinned lovelies.

Setting this product with powder is essential for it to last and be waterproof, smudge-proof, and non-transferable onto clothes. Deposit a generous coating with a powder puff and allow to sit for at least 5 minutes before buffing off the excess with a soft, large, fluffy powder brush. 

Recently, I was booked to do a bride for her wedding day in a city to which I had to travel the night prior. On the morning of the wedding I got an emergency text from the bride telling me that the makeup artist who was booked to do her wedding party of 5 cancelled. I was asked to step in. This was no easy task as I had only packed makeup for the bride. The girls in her wedding party ranged from light to dark skin tones. Thankfully, I had packed a couple of the new Dermablend Leg & Body Makeup and I’m so glad I did. I was able to use this amazing product, with a light hand on the darkest girl and it looked amazing! I was able to mix the shades I brought to match everyone brilliantly. Phew! In addition to saving the day, this product served its intended purpose for the bride’s arms and chest blemishes.

 
Derma Blend Leg and Body Makeup – 100 ml – 3.4 fl. oz. - $36

Derma Blend Leg and Body Makeup – 100 ml – 3.4 fl. oz. - $36


Available at select Shoppers Drug Mart stores and Beauty Boutiques


Peach Supreme

Peach Supreme - Summer is finally here and many of you are asking what should I do to update my makeup? Cosmetic colours for June through August have always leaned to the brightest sector of the colour wheel: punchy pinks, vibrating violets, outrageous oranges and courageous corals for lips, cheeks, eyes and nails. For me, one colour that rises above all the usual suspects is the pretty and perky Peach. Luscious, fun and friendly, peach has a way of conveying the sweet sense of southern charm, conjuring images of daiquiris and peach cobbler enjoyed on a sun-dappled front porch. Peach is the softer side of orange and makes a wonderful alternative when pink and coral is just too much. In Chinese culture, peach represents immortality; in beauty, peach makeup never feels out of style.

This lovely shade, however, is often misunderstood. It amuses me when someone describes this seemingly perplexing colour as a variant of pink or as a sister to orange. Peach is often confused with apricot, which is yellower, and coral, which pinker and brighter. Artistically speaking, peach can be found in the red-orange sector of the colour wheel between rows 1 – 3.

Peach looks best when it’s swept over the cheeks and lips for a sensational sunset feel. Wear it on top of your favourite lipstick and blush for a softer side of you. Peach pairs beautifully with white, neutral and golden-bronzed tones. Use cool blues, teals and turquoises for the most complimentary combination and tropical twist with eye liner, shadow, and wardrobe pieces. 

SHOP PEACH SUPREME


Blooming Beauty Tips

Spring has sprung and it’s time to freshen up your skin, your look, and your cosmetic bag. Here are my Blooming Beauty Tips for this welcome season of renewal.

1. Have, or do, a facial.

Now’s the time to upgrade your skin care system or make an appointment with a professional to slough away “winter skin.” Book a regular, deep-cleansing facial because that’s all you really need. (Don’t buy into the upgrades of fanciful facials that promise to remove wrinkles, tighten skin, and do your dishes. Your goal is to deep clean, hydrate, and give skin a brand-new start.) The cleansing portion of the facial can be in the form of a chemical peel; these offer a higher concentration of exfoliant than peels bought over-the-counter. Cleansing can also involve extracting stubborn blackheads and deep-rooted blemishes. An aesthetician can usually perform this task with optimum results. Expect steam, massage, a mask--and most likely, some kind of sales pitch for their products. (If you’re offered complimentary makeup, let your skin breathe and return another time.) I suggest booking your spring facial late afternoon or early evening so you can enjoy some leisure afterward. Go home, relax, tune-out and turn off all tech devices! A nice disco nap works for me every time. Remember, too, if you’re on a beauty budget, you can always give yourself a facial.


2. Skip Primer

A high-quality moisturizer with sunscreen SPF 30 acts as the perfect primer. I recommend Paula’s Choice Daily Moisturizers with SPF 30. These products contain other skin-benefiting ingredients, too.


3. Sunscreen Math

Estimate how much sunscreen you and your family will need to get through the summer and buy some now. Prices for sun care products increase as the weather gets hotter. Check the expiry dates of what you have on hand.


4. Lighten-Up Your Foundation

Retire rich, emollient foundations and switch to a powder-based foundation that holds up in hot, humid weather. DDB Beauty Powder Foundation If you prefer a liquid foundation, switch to an oil-free, water-based type. It will hydrate and feel lighter than the oil-rich formulas that perform best in winter. MAC’s Face & Body Foundation, Revlon’s Colour Stay Liquid Foundations and Cover FX Natural Finish Oil-Free Foundation continue to get rave reviews.


5. A Word on Waterproof Makeup

Stay-put, long-wearing, waterproof makeup is a growing category in the cosmetic market for weepy brides and their mothers (who may also be experiencing hot flashes). As marvelous as these budge-proof formulas are, it’s important to note that they need a dedicated solvent to remove them properly and comfortably. Not removing waterproof makeup completely can dry out lashes and bring on skin disasters.

DIY At Home Fabulous Facial

At-home facials come in many versions. Here’s mine, a classic I’ve tweaked and updated to include some of the newest products available. Take the time to do this with care and without disturbance.

SUPPLIES

  • Head band
  • Cotton pads
  • Face Cloth
  • Towel

PRODUCTS

  • Eye Makeup Remover
  • Facial Cleanser
  • Exfoliant
  • Toner
  • Face cream
  • Serum
  • Eye Cream (optional)
  • Lip Balm
  • Hand Cream

The Steps:

  1. Get comfortable. Comfy cozies, pyjamas, nothing at all!
  2. Remove makeup, clean skin.
  3. Apply face cleanser generously and lay on a facecloth that has been moistened with warm water. This steam softens the skin and begins the process.
  4. Remove the facecloth after 5 minutes.
  5. Massage your face and neck with your fingertips and knuckles. Be the most gentle around the eyes. Rinse off cleanser.
  6. Manual Exfoliation Process: Apply a teaspoon of scrub and mix into palms of hands. Pat and spread over face and neck. Avoid the eye area. Gently and very lightly use fingertips to skim and buff for 2 minutes. No scrubbing or rubbing. Rinse thoroughly away in the shower. Lightly pat away excess water with a towel but leave the skin moist. Jump to step 8.
  7. Chemical Exfoliation Approach: Apply appropriate Paula’s Choice leave-on Liquid Exfoliator after step 9.
  8. Mask – Use a creamy moisturizing mask if your skin is dry and a clay-based mask if your skin is oily. You can use both if you have combination skin. Leave mask on as long as directed. Most moisturizing masks don’t need to be rinsed off. The remainder can be massaged into the skin. Clay-based masks must be removed completely because of their drying properties.
  9. Toner - Apply with cotton pads to calm and treat the skin. This completes the cleansing process and prepares skin for the following steps:
  10. Select a serum to address your skin’s specific needs or concerns. Massage in 3 – 6 drops.  Apply more if you feel you’ve run out or have drier skin.
  11. Lock in the serum with a moisturizing gel, lotion, or cream. If you’re heading outdoors, make sure it contains an SPF 30.
  12. Eye Cream (optional) take up eye cream to the size of a pea with ring finger. Pat and warm with other ring finger and tap along the orbital bone, all around the eye and into the temples.
  13. Apply lip balm.
  14. Enjoy the glow and keep makeup light!

Similar Posts

The Low Down on Liner

I continue to see woman use too much eyeliner, and then wonder why their eye makeup never looks quite right or makes them look tired when they’re not. Most eyeliner pencils are quite soft so they can deliver colour without unnecessary pressure or discomfort. Sometimes the pencil can be so soft that it’s difficult to use with precision. (Or maybe a pencil sharpener is the perfect gift for you!)

Going over the lash line repeatedly with eyeliner only adds more product and is often the culprit for the mess. A little trick is to use the DDB Chisel-Tip Angle Brush, to pick up and transfer the eyeliner. Rub the tip back and forth over the tip of the pencil and then apply the liner along the base of your lashes. This gives you more control and you can build onto it by adding more--without the line becoming too wide and wonky.

To begin, position and tuck the longest point of the brush at the outer end of your eye and--in overlapping dashes--work into and along the lash roots. Holding the brush perpendicular or slightly angled upwards allows you to see what you’re doing. Taper and fade out the liner as you reach the inside edge of the iris. The outer end of the eyeliner can be thickened to elongate the eye, or lifted up and out for a winged effect. The results are more flattering than rimming the pencil all around your eyes, especially in the inside corner where some liners can make the eye look dark, tired--and even mean. The right tools and a little technique can help eyes look rested, bright, and ready to take on the day, or night!.

Quick Beauty Fixes with Facial Masques

Dino-Dilio-Beauty-Bites-Masks.jpg

As seen on Cityline with Dino Dilio

When you’re run down, sleep deprived, stressed out and exhausted - your skin takes a beating and shows it! Here are some quick beauty fixes that rescue and revive your skin with improved versions of our favourites and some easier to use hybrid facial masques.

The new generation of masques can do everything for skin. Detox, purify, firm, brighten, plump and lift your skin and mood - providing immediate relief and results. They are a real time saver when you have to look great – fast.

The Formulas and Types

Body Shop Bouncy Sleeping Mask

Body Shop Bouncy Sleeping Mask

Cream Based

These are rich and creamy designed to super moisturize, hydrate and nourish dry skin. 

Example: Body Shop Bouncy Sleeping Mask – a smoothing, refreshing and replenishing night cream-gel you sleep in. Rinses off the next morning to reveal fresh and soft bouncy skin.

Body Shop Seaweed Ionic Clay Mask 

Body Shop Seaweed Ionic Clay Mask 

Clay Based

For oily and troubled skin to detoxify deep cleanse and control excess oil and clarify the complexion. Negatively charged ions act like magnets to draw out dirt and impurities from the pores. Wet mixture dries hard. Needs to be rinsed off with warm water.

Example: Body Shop Seaweed Ionic Clay Mask 

Skyn Iceland Hydro Cool Firming Eye Gel Pads

These pads are super concentrated, saturated gel pack of intensive treatment, works instantly to help reduce lines and wrinkles, de-puff and minimize the under-eye puffiness, guards against future damage. Gels are applied and left on for 10 minutes. Cools and comforts under the eyes while infusing the area with concentrated doses of soothing and hydrating ingredients. Can be used over top of makeup. Also make versions for forehead and side of mouth lines.

Hydro Cool Firming Eye Gels

Hydro Cool Firming Eye Gels

HydroCool Firming Face Gels

HydroCool Firming Face Gels

Sheet Masques

Sheet Masques are a cloth like film or material saturated with active ingredients. The masque is laid over clean skin and removed. Some kinds harden and lift away while others just disintegrate into the skin.

Example: Masque Bar by LookBeauty at Shoppers Drug Mart

Masque Bar by LookBeauty at Shoppers Drug Mart

Masque Bar by LookBeauty at Shoppers Drug Mart

Peel Off Gel Masques 

Balea Ultra Firming Face Mask

Balea Ultra Firming Face Mask

These masques are very light in texture, apply as a wet gel and then dry to a peel away film that lifts off impurities and dead skin cells.

Example:  Life Brand Hydrating Facial Sheet Hyaluronic Acid & Konjac. Also available for other skin types and conditions.

Masque Tips

  • Masques must be applied to thoroughly cleaned skin
  • Exfoliating before is another good idea to clear the surface of the skin and allow the masque to penetrate the skin
  • Apply masques with fingertips or a foundation brush
  • Use a wet face cloth to help remove thicker, clay-based masques

Recommendations available at Shoppers Drug Mart, Murale and The Body Shop