Sanitizing Your Makeup Kit
Health before Artistry is the new beauty mantra that we must live by in a post-pandemic world. What follows are fail-safe strategies for organizing and sanitizing your own makeup and tools to keep them safe from dust, dirt and bacteria. (Remember to wash your hands before you do this and before you apply your makeup.)
Makeup
On a clean surface or laid-out towel, organize your makeup bag into categories by face, eyes and lips. Throw away anything that's broken or that you haven’t used in six months.
Expired Makeup
Here are the tell-tale signs that makeup has expired:
Separation of formula and an unfamiliar odour
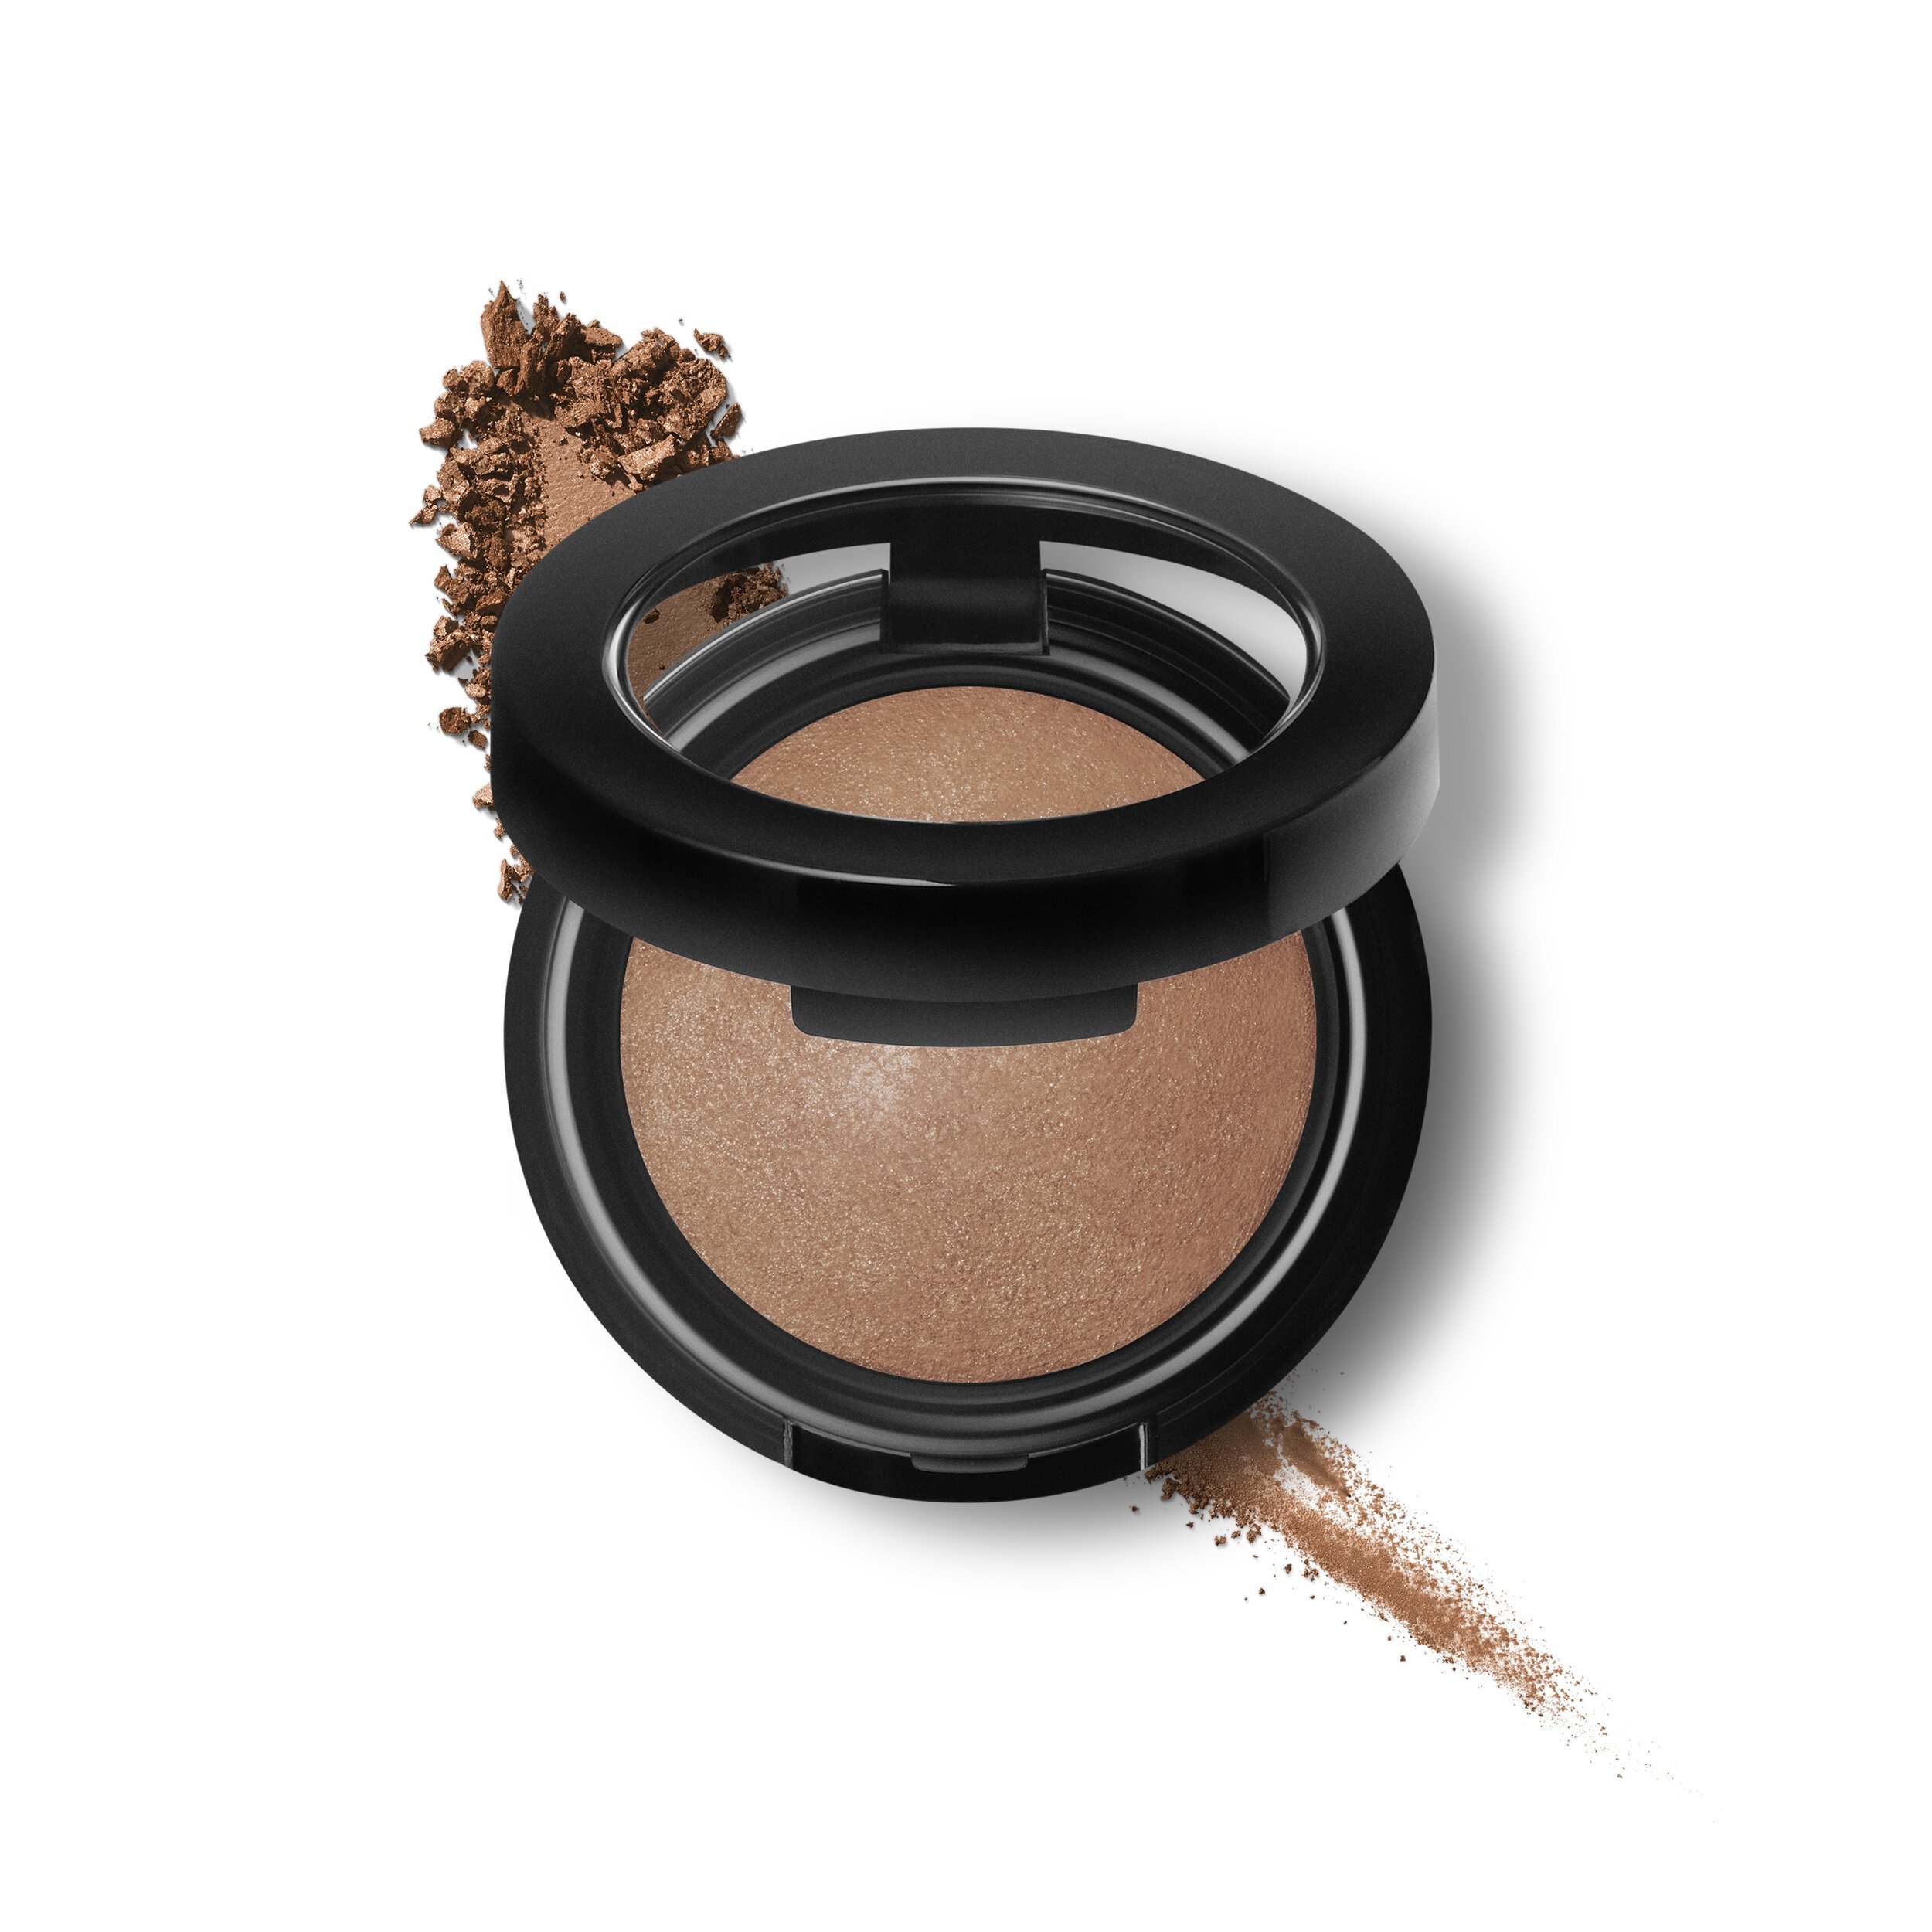
Powders are considered low-risk and can have a long lifespan if used hygienically. Spray with 70% alcohol to sanitize between uses. Allow time to evaporate before closing packaging.
Moist cosmetics like mascara, lipsticks, concealers, foundations, creams and fluids have the shortest life span: one-to-three years after opening. These products are most susceptible to contamination and spoilage because they attract and breed bacteria if not properly used and stored. If they smell off, they are! Be safe and replace. Use only clean fingers or a cotton swab to pick up product. When replacing these items, consider self-dispensing packaging like tubes and bottles that will protect the product's integrity and performance.
It's easy to tell that pencils are “off” when they no longer draw with ease, or they break and crumble when trying to sharpen.
Let the Sanitizing Begin!
70% Isopropyl Alcohol is an effective and inexpensive fluid that cleans and sanitizes brushes, tweezers, scissors, sharpeners, makeup cases, bags and compacts. Keep alcohol in a spray bottle and just spritz on (closed) products to sanitize. Dry with paper towel.
If you think your tweezers, eyelash curler, scissors and sharpener need a deep clean, first scrub with Dawn Antibacterial dish detergent and a clean nail brush. Wash and rinse. Pat dry and then soak the implements in a bath of alcohol for no less than 10 minutes. Dry with paper towel and place in sterile container.
You can use household brands of disinfectant wipes by Lysol and Clorox, but only for the outside of makeup (packaging and cases). Saturate the surface. Wait two to five minutes to ensure product performs. Dry with paper towel.
Waterproof and Long-Wear Makeup is the most difficult product to remove from brushes. First, clean them with Dawn. Repeat. If you've bought the remover specific to the product, you can soak brushes in a glass of that water-proof remover for ten minutes and then sanitize. In some cases, a professional brush cleaner like Cinema Secrets is the best and quickest for soiled brushes. It's widely available.
Stop! In the Name of Love the days of sharing your makeup with family and friends is over. Sorry girls and boys, this is for everyone’s safety.
Deep Cleaning and Sanitizing Your Makeup Brushes
Washing your brushes can be a chore. Clean brushes will provide optimal application and the truest color payoff. This is important when switching between colour palettes. Well-cared-for brushes will last for years and become softer and easier to use.
Clean in batches if you have many brushes.
Place a large bowl in your sink and fill with warm water and a few drops of Dawn Anti-Bacterial dish detergent, which contains bacteria and virus-killing chloroxylenol, works wonders for degreasing and breaking down oils on neglected brushes caked with makeup. These are usually your concealer, foundation and lip brushes.
Begin with the largest brushes, making sure to dip only the hairs and top part of the ferrule. (This is the part of the brush, usually metal, that secures the hairs and connects with the handle.) This prevents breaking down the glue that holds the brush together. If a brush is shedding bristles excessively, it may be time to retire it to the cosmetic graveyard and replace it. R.I.P. old, faithful friend.
Let brushes soak for five minutes, then gently dunk and swish brush heads (hairs) to release colour. Massage the hair tips with your fingers. Carefully rinse each brush head under tepid running water until water runs clear.
For smaller brushes, repeat the process with fresh water and Dawn.
Shake out excess water and reform the brush into its original shape.
Create a drying mount by rolling up one end of a towel. Place the handle of the brush on the rolled section so that the head of the brush is angled slightly downwards on the flat towel. This keeps water from seeping into the handle of the brush as it air-dries.
To speed drying time, use a hair dryer on the cool or low setting. Rotate and fluff the brush to avoid altering its shape.
Once brushes are completely dry, mist each brush separately with 70% alcohol, rotating the brush head as you mist sides and top. Allow drying time before storing.
Your Vanity Set-Up
Make sure your cotton swabs, pads and sponges stay sterile and protected from air-born particles and dust by housing them in containers with covered lids. Store makeup brushes in a drawer or covered container. This is especially important in bathrooms, where moisture invites unwanted elements.
Follow these tips and rest assured that your makeup is performing at its best and transferring nothing but beauty to your eyes, lips and skin!